To prepare artwork for custom boxing shorts, send the best available source file for each logo, a clean visual reference, the exact text you want printed or embroidered, colour references, placement notes, your preferred shorts style and your required date. Ask the manufacturer to confirm the accepted file format and send a proof before production. A clear handoff helps the designer understand your intent without guessing.
What artwork files should you send for custom boxing shorts?
Send the original, editable logo file whenever you have it. Vector artwork is usually the most useful starting point for logos because it can be resized without becoming pixelated. Common vector formats include AI, EPS and SVG, although the file extension alone does not guarantee that the artwork inside is editable. A PDF can contain either vector or raster artwork.
If you only have a PNG or JPEG, send the largest and clearest version available. Do not enlarge a small screenshot before sending it; enlarging a raster image does not restore missing detail. Include the low-resolution file anyway, because it can still show the intended design while the artwork is reviewed or recreated.
Before sending files to PAILK, ask which formats the design team currently accepts. The existing PAILK guide confirms that design support is available, but it does not publish a technical file-format or resolution specification.
What information belongs in a boxing shorts design brief?
A logo file is only one part of the brief. Include these details in the same message:
- Fighter, gym, team or brand name
- Exact spelling, capitalisation and punctuation for every name, nickname and slogan
- Preferred boxing-shorts style and cut
- Main body colour, waistband colour and trim colours
- The location of every logo or text element
- Whether each element should be printed or embroidered, if you have a preference
- Quantity and size breakdown
- Country or delivery destination
- Fight, launch or event date, if one applies
- A reference image or simple sketch showing the intended layout
Label your files clearly. For example, gym-logo-front, sponsor-logo-left-leg and fighter-name-waistband are easier to interpret than image1 and final-final-logo.
How should you show logo placement?
Use a simple front-and-back layout. You do not need advanced design software: a labelled sketch can communicate the idea if the original logo files are attached separately.
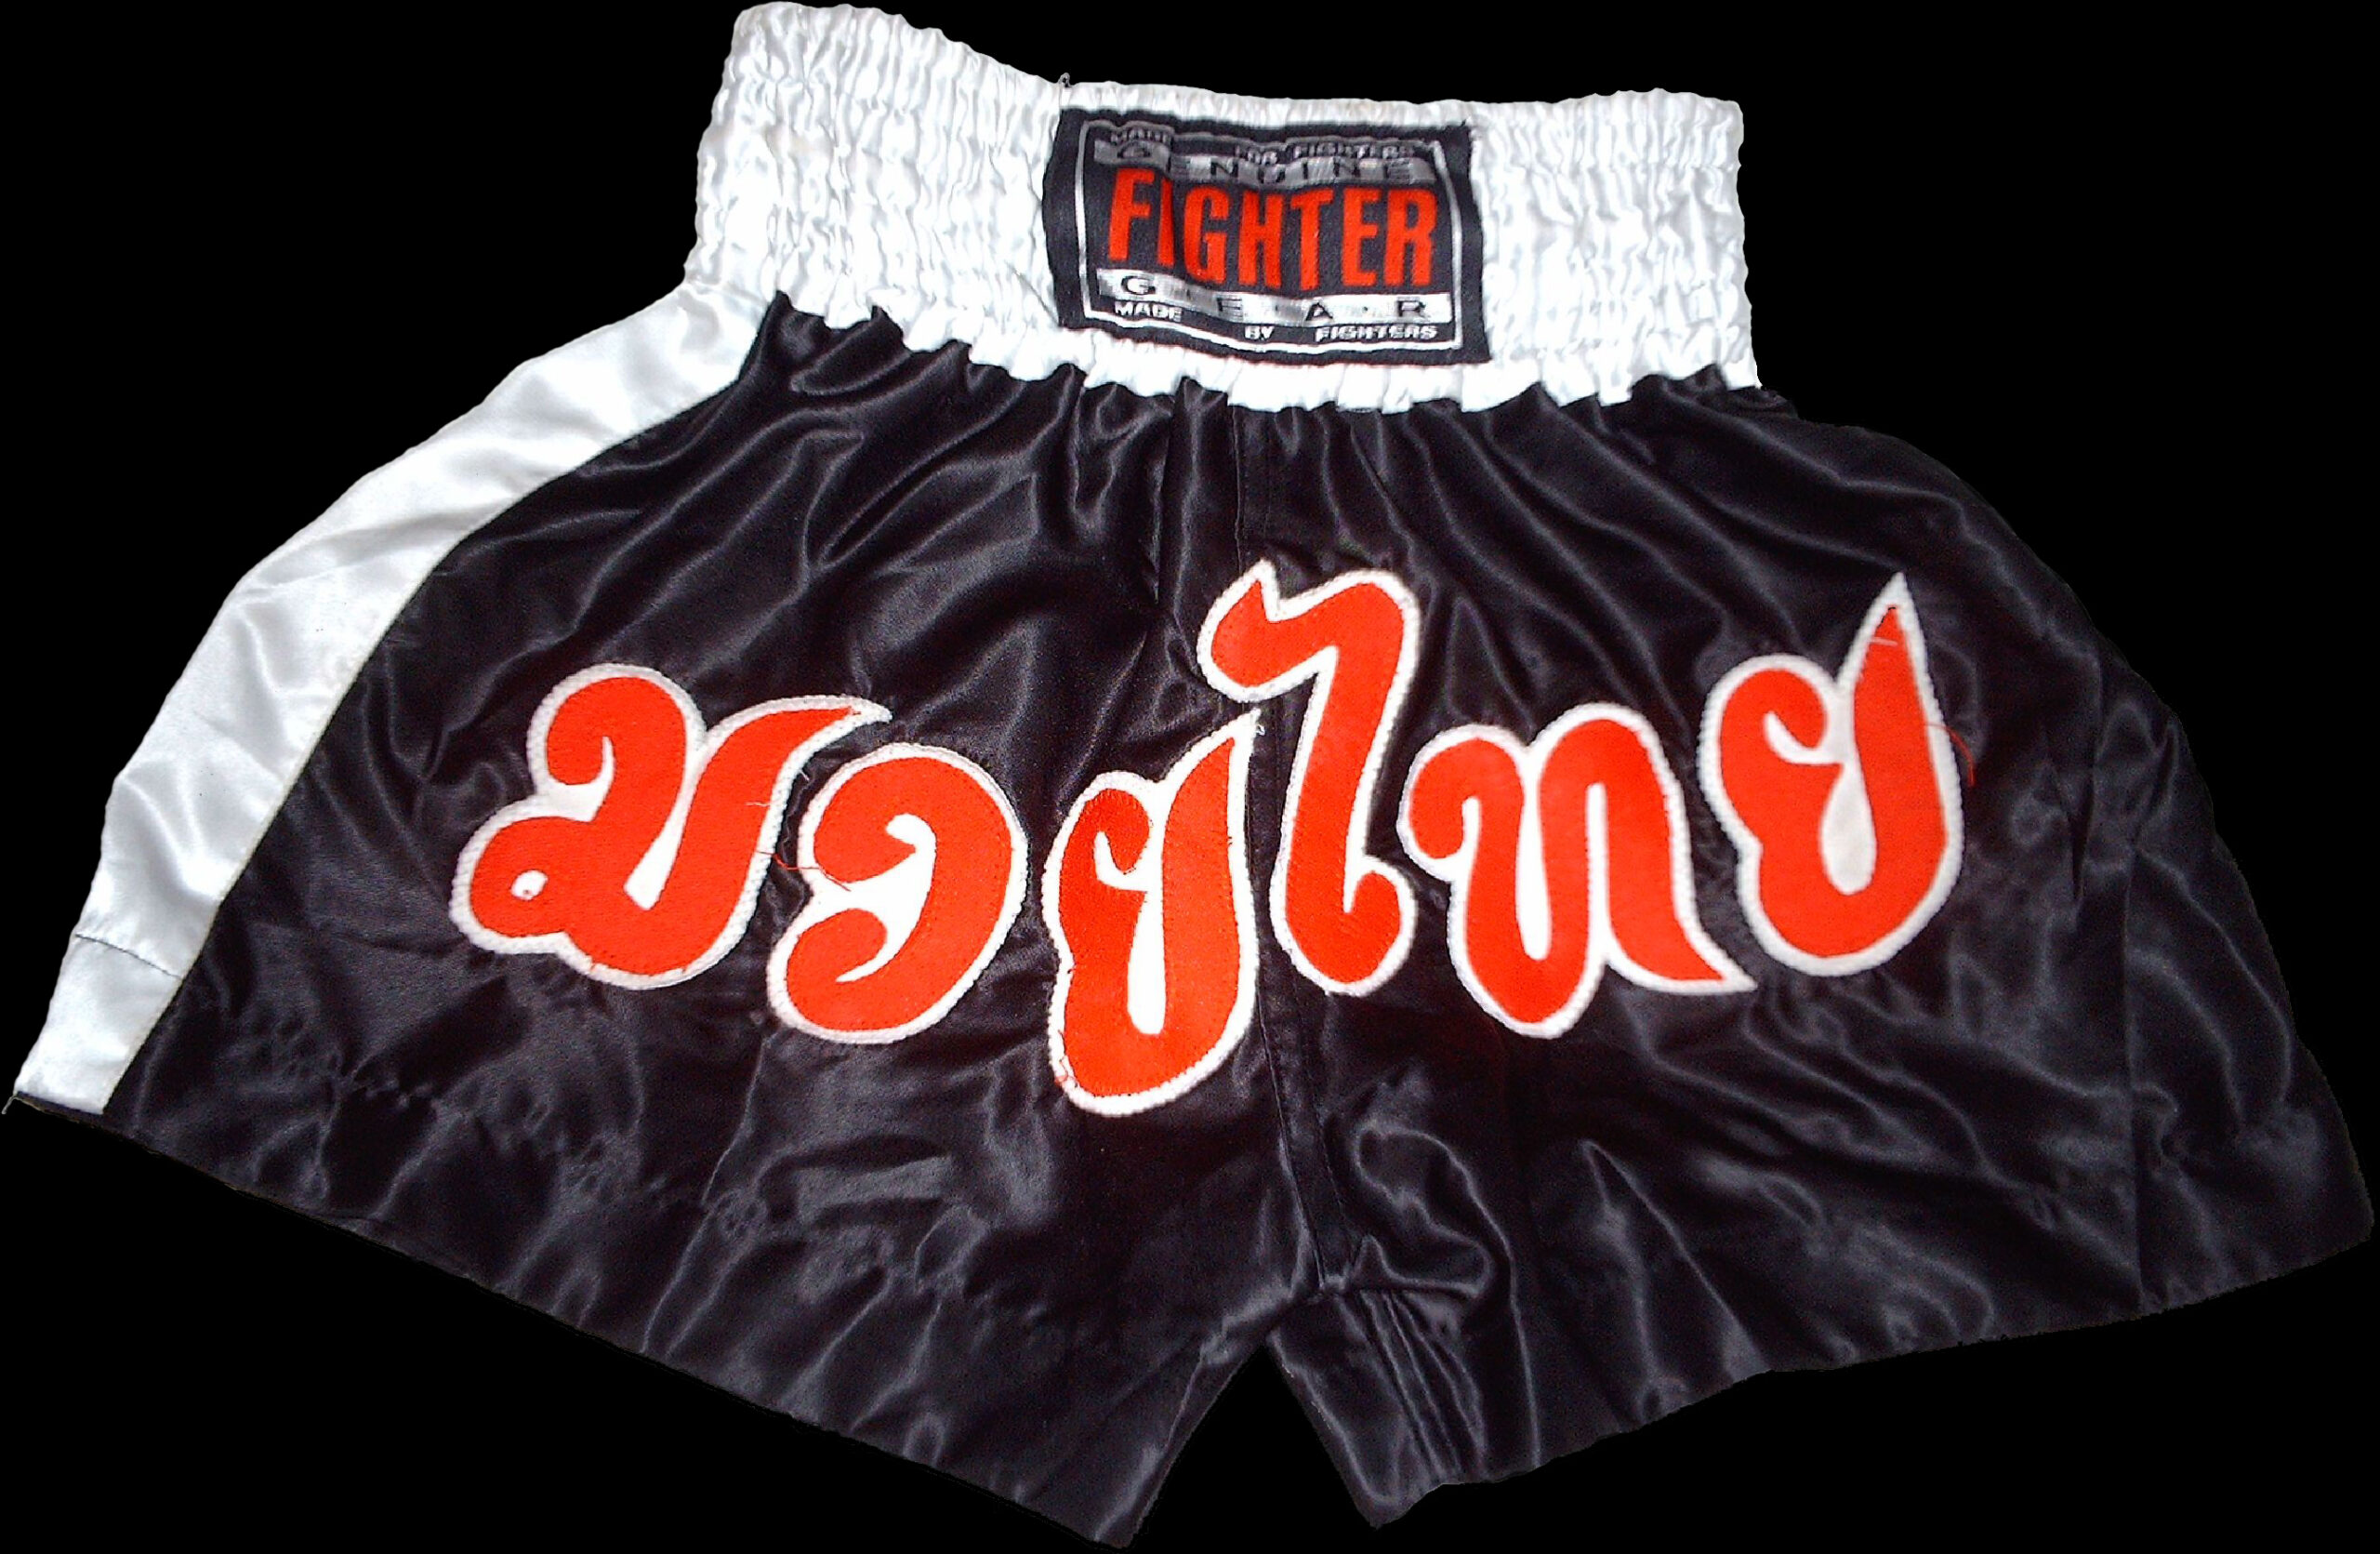
For each element, specify:
- The panel or area: waistband, front centre, left leg, right leg, side panel or back.
- The approximate priority: primary brand mark, fighter name or secondary sponsor.
- The preferred orientation: horizontal, stacked, curved or vertical.
- Any elements that must not be moved or altered.
Ask the designer to flag anything that may be hard to read, too detailed for the selected decoration method or poorly positioned near a seam. Treat the returned proof as the production reference, not your first rough sketch.
How should you specify colours?
Do not rely only on phrases such as “bright red” or “royal blue.” Add a colour reference wherever brand consistency matters. This might be a Pantone reference, an existing brand guide or the colour values from your current logo file.
Pantone describes its systems as a shared language for communicating colour across design and production. However, colour appearance can change with the material and production process. Screens also display colour differently. Use colour references to communicate intent, then confirm how the selected fabric and decoration method may affect the result.
Does printing or embroidery change the artwork requirements?
Yes. PAILK’s current customisation guide says that printing and embroidery are available for logos, graphics and text. The best choice depends on the artwork, placement, fabric and desired appearance.
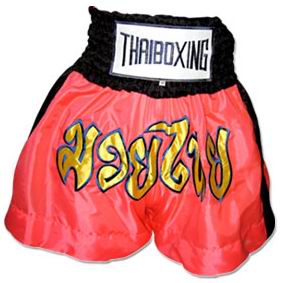
As a practical rule, ask the designer to review:
- Very small text or thin lines
- Gradients, shadows and photographic detail
- Large solid areas of colour
- Logos that cross seams or trim
- Artwork planned for a flexible or gathered area
- Multiple sponsor marks that must remain readable
Do not assume that a design prepared for printing can move to embroidery without adjustment. Request a recommendation for each logo and approve the proposed method before production.
What should you approve before production?
Review the proof slowly. Check every item below:
- Spelling and number accuracy
- Logo version and orientation
- Front, back, left and right placement
- Relative logo sizes
- Body, waistband and trim colours
- Shorts style and size breakdown
- Printing or embroidery method for each element
- Quantity and delivery destination
- Agreed schedule and the date from which production timing begins
If the shorts will be used in a sanctioned competition, confirm the organiser’s current uniform, waistband and advertising requirements before approving the artwork. Rules can differ by organisation and event.
PAILK’s current customisation page says design and manufacturing typically require two to three weeks depending on design complexity, and that order changes are allowed within 24 hours of placing an order. Reconfirm both points for your specific order, especially when working toward a fight date. Shipping time is separate and varies by destination and method.
Copyable custom boxing shorts artwork checklist
Use this template when requesting a review or quote:
- Buyer:
- Fighter, gym, team or brand:
- Shorts style:
- Quantity and size breakdown:
- Main body, waistband and trim colours:
- Front logo/text:
- Left-leg logo/text:
- Right-leg logo/text:
- Back logo/text:
- Preferred printing or embroidery method:
- Attached source files:
- Delivery country:
- Required event or launch date:
- Questions or non-negotiable details:
What if your logo is only a screenshot?
Send it, but identify it as a reference rather than production-ready artwork. Also search your email, cloud storage or previous supplier files for an original AI, EPS, SVG or editable PDF version. Adobe explains that vector graphics retain clean edges when resized, while raster images such as JPEG and PNG can become blurry or pixelated when enlarged.
If no original exists, ask whether PAILK can recreate or simplify the logo and whether that work changes the quote or schedule. Approve the recreated logo before it is placed on the shorts.
Ready to have your artwork reviewed?
Gather your files, complete the checklist and review the existing guide to customising your boxing shorts. Then contact PAILK for a design review and quote, including your quantity, size breakdown, destination and required date.