To customise boxing shorts, decide six things in this order: the style, the fabric, the colours, the logos and text with their decoration method, the trims, and the sizes. Then send one complete brief, approve a proof and confirm the timing. Getting these decisions in the right order avoids the most common delays and mistakes.
This is the overview guide to the whole process. Each step links to a more detailed guide.

Step 1: Choose the style
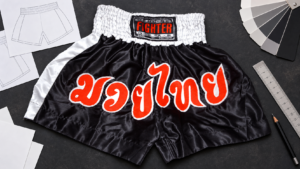
Choose the cut for your sport before anything else. Boxing shorts and trunks have a high waist and roomy legs. Muay Thai and kickboxing shorts are short with wide legs and side splits. MMA shorts are longer with stretch panels. The style decides where logos can go and how the design will look.
More: guide to boxing shorts styles · trunks vs shorts vs Muay Thai shorts
Step 2: Choose the fabric
Choose shiny satin for the classic fight look, or a smoother polyester for full-colour printed designs and frequent training. PAILK offers fabrics in different weights, textures and colours, including breathable, moisture-wicking options. Ask for a swatch if the exact look matters.
Step 3: Choose the colours
Pick a main body colour, a waistband colour and up to two accent colours for trims and side panels. If the shorts are for competition, check whether the waistband must contrast with your top. Give colour references, such as Pantone codes or your brand guide, wherever matching matters.
Step 4: Add logos, names and graphics
Decide what goes where, and how each element is made. Typical positions are the waistband, front centre, each leg, the side panels and the back. For each element, choose a decoration method:
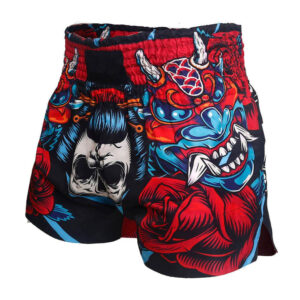
- Sublimation for full-colour, all-over or gradient designs on a light polyester base
- Embroidery or appliqué for raised names and logos, especially on dark satin
- Screen printing for simple one- or two-colour logos on larger orders
More: sublimation vs embroidery · artwork checklist · what to personalise
Step 5: Add trims and accents
Piping, contrast stitching, coloured waistbands, side panels and fringing are small details that change the look of the whole short. Keep them consistent with your colour plan, and make sure trims do not cut through important logos.
Step 6: Get the sizes right
Measure your waist at its narrowest point, usually just above the belly button, and check the size chart. PAILK’s sizes run from XS to XXXL. If you are between sizes, choose the larger one. Length, width, waistband and pockets can also be customised.
More: how to get custom shorts that fit
Step 7: Send one complete brief
Put everything in one message so the designer can quote and proof without guessing:
- Style and fabric
- Body, waistband and trim colours
- Logo files, text and positions, with a preferred method for each
- Quantity and size breakdown
- Delivery country and the date you need the shorts
Step 8: Approve the proof and confirm timing
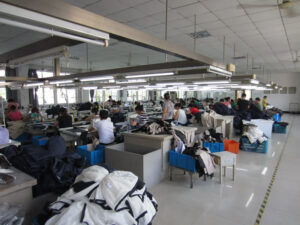
Approve the proof, not your first sketch. Check spelling, logo versions, positions, colours, the decoration method for each element, sizes and quantity. PAILK’s guide says design and manufacturing usually take two to three weeks depending on design complexity. Shipping is separate and depends on destination and method. Changes are accepted within 24 hours of ordering, so check everything before you confirm. A tracking number is provided once the order ships.
Ordering for a gym or team?
Group orders need a few extra steps: a shared design, a size list collected properly, and a personalisation list. See custom gear for gyms, academies and teams. PAILK offers special pricing for bulk orders.
Ready to start? Read the how to custom page for the options, then contact PAILK with your brief.